WHAT IS CALIBRATION?

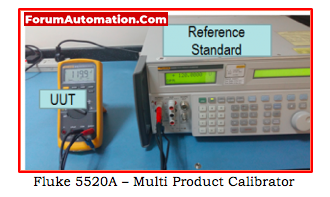
- To detect or eliminate unacceptable variations, calibration is the process of comparing an instrument, measuring and test equipment, the unit under test, an unit under calibration, the device under test, or simply a test instrument to an instrument or standards with a known accuracy. It might or might not require adjusting or fixing.
- By referring to or modifying the instrument based on a Reference Standard, it is forcing the instrument to perform what it displays.
Standard Abbreviation used.
- Measuring and test equipment - M&TE
- Unit under test - UUT
- Unit under calibration - UUC
- Device under test - DUT
- Test instrument - TI
What is a Reference Standard?
- A reference standard is also a piece of apparatus, machinery, or measuring equipment that is more accurate or of higher metrological quality than the UUC.
- The UUC is compared to the sources from which measurement results are produced. Additionally, it is calibrated, however by a higher caliber lab with traceability to a higher standard
- Master Standard is another name for a reference standard. They also refer to it as Master Calibrator.
Why Calibrate? – Reasons for Calibration
There are a lot of reasons why calibrating is necessary. These factors include:
- To ensure that we receive the value for the money we paid for a good or service, like in the example above.
- We must calibrate for a technical reason because when equipment ages or is subjected to mechanical or environmental stress, its performance steadily deteriorates. The ‘drift’ is the term we use to describe this decline. When this occurs, the output or performance of some machinery will be unreliable if design and quality are compromised. Although we cannot completely eradicate drift, it can be found and controlled through the calibration process.
- Implementing calibration is also justified by practical considerations. When we use our equipment in the following circumstances, calibration will dispel uncertainty and instill confidence:
- When there are newly installed or recently purchased instruments, or when they are handled carelessly during transfer
- When an instrument’s performance is in doubt.
- The calibration period is past due to the device has been exposed to vibrations or extreme heat or cold for an extended period of time
- Whenever a modification, repair, or adjustment is made
What needs to calibration?
All inspection, measurement, and testing tools that have the potential to influence or quantify product quality. This indicates that the instrument has to be calibrated if you’re using it to determine if a product is accepted based on the measured value you’ve taken. Machinery that, if out of calibration, would manufacture dangerous goods.

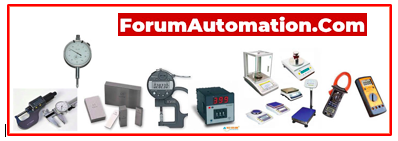
Different types of calibration instruments
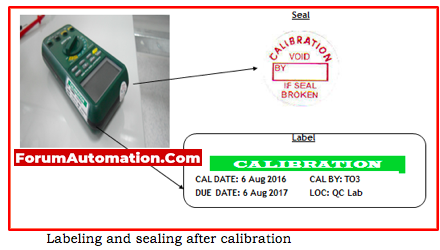
Calibrated Instrument Looks like?

- Make sure your measuring equipment has a calibration label with information about its calibration when you get them calibrated.
- After the calibration date and due date have been noted, the labeling and sealing process also includes the person in charge of the calibration, the serial number, and the certificate number, depending on the calibration lab. Additionally, if necessary, a seal is added to prevent unauthorized adjustments.
- If the calibration certificate is not on hand, a calibrated instrument with labels is useless.