Insulation Resistance (IR) Testing Procedure include following steps:
Step-1). Isolate & Verify
Step-2). Connect Test Leads
Step-3). Apply Test Voltage
Step-4). Record the 1-Minute IR Value
Step-5). Continue with Polarization Index (PI)
Step-6). Compare with Standards and Analyze Trends
Step-1). Isolate & Verify
To avoid accidental energization ensure that the device is entirely de-energized, drained and correctly locked out/tagged out (LOTO). Before proceeding, confirm that there is no residual voltage.
Step-2). Connect Test Leads
Connect the positive (line) lead of insulation tester to the conductor being tested. Connect the negative (earth) lead to ground (or) another phase depending on the test arrangement.
Step-3). Apply Test Voltage
Choose the appropriate DC test voltage based on IEEE 43 (or) NETA ATS specifications. Apply voltage for one minute to allow the insulator to stabilize.
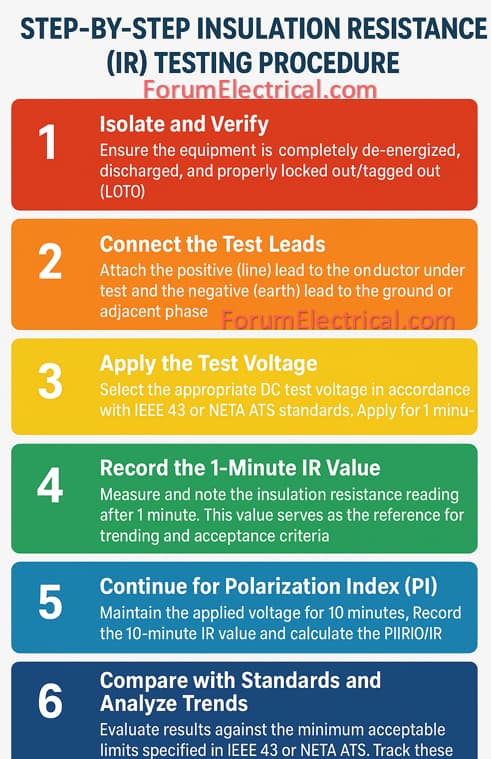
Step-4). Record the 1-Minute IR Value
Measure and record the insulating resistance after 1 minute. This value acts as a benchmark for trending & acceptance criteria.
Step-5). Continue with Polarization Index (PI)
Sustain the applied voltage for 10 minutes. Measure the 10-minute IR value & calculate the Polarization Index (PI) utilizing the following formula:
PI = IR at 10 minutes / IR at 1 minute.
Step-6). Compare with Standards and Analyze Trends
Compare the recorded values to the minimum allowable limits defined in IEEE 43 (or) NETA ATS. Track these values over time to detect any progressive decrease in insulation quality.