Using a Megger insulation tester is simple, but it must be done correctly to ensure safety and accurate results.
Here’s a Step-by-Step instructions:
Preparation
Make sure the circuit (or) equipment is totally unplugged from power.
To prevent shock or injury, discharge any capacitors or windings.
Inspect the tester. Before using the Megger, ensure that the leads, probes & settings are all correct.
Connections
Identify the two test points (e.g: phase to earth, phase to neutral, winding to frame).
Connect
- The Megger’s line (L) terminal connects to the conductor (or) winding being tested.
- Earth (E) terminal connects to the equipment’s grounded section or earth point.
Set the Test Voltage
Choose the appropriate DC test voltage based on the equipment rating.
250 volts for low-voltage circuits.
500V for normal LV insulation tests.
High-voltage equipment requires a voltage of at least 1kV.
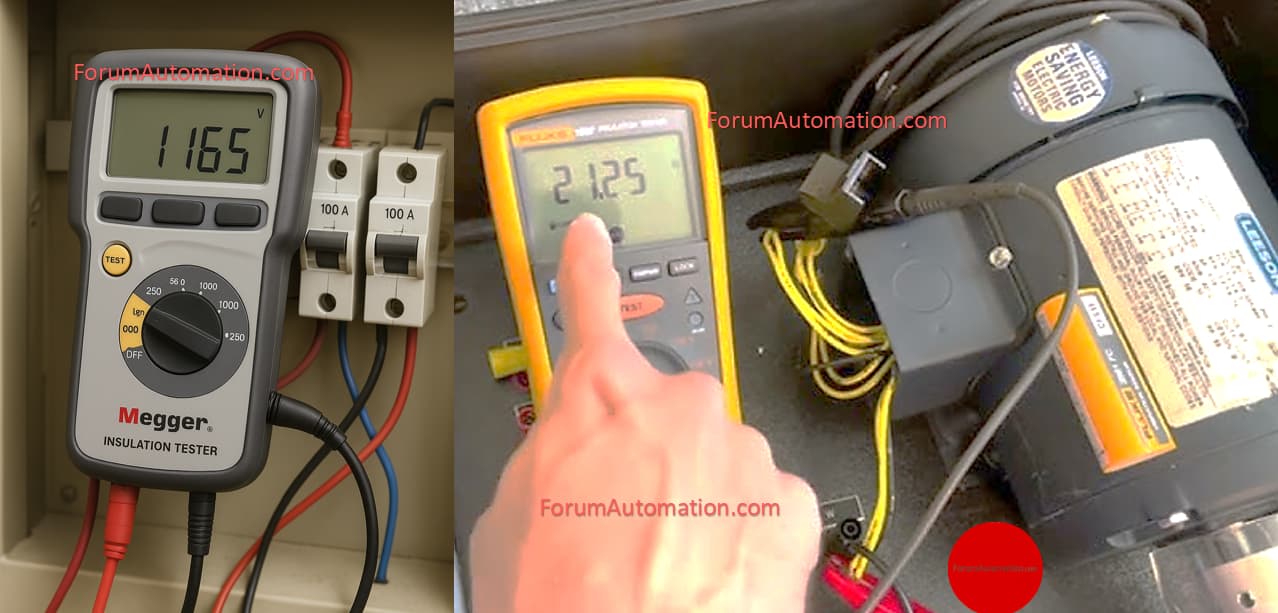
Performing the Test
Turn the Megger crank (manual) or hit the TEST button (digital).
Keep the test voltage constant for at least 1 min to allow the reading to stabilize.
Results
Note the resistance value on the display.
High resistance (>1 MΩ) indicates good insulation.
Low resistance indicates potential insulation breakdown or dampness.
Post Testing
After the test, release the test voltage.
Discharge the tested equipment again, either via the Megger’s discharge circuit or manually.
Disconnect the leads.
Safety Notes:
Never test a live circuit.
Always wear the appropriate PPE (gloves, safety glasses).
Follow the manufacturer’s voltage rating requirements.
You can also follow us on AutomationForum.co, Facebook and Linkedin to receive daily Instrumentation updates.
You can also follow us on ForumElectrical.com , Facebook and Linkedin to receive daily Electrical updates.